
I have probably made this recipe hundreds of times now. If you ever wanted to make your own homemade bread now is the time. I am blessed with a Bosch Nutrimill which makes amazing finely ground whole wheat flour. This is much finer than any whole wheat flour you can find in the store and contains the bran and germ as well. So all the healthiest stuff is still there. I made four loaves of wheat bread for years with my Bosch Compact Mixer. Then when my Compact broke, the company sent me a replacement which was a 750 watt Bosch Universal Mixer. I now can make six loaves at one time rather than four. (With a growing family, that is always a nice option.)
So here is my recipe with as much visuals as I could provide for six loaves of whole wheat bread. If you already have a strong mixer, then you can try the four loaf recipe first. You can find that recipe here. I found in the past that my Kitchenaid Mixer with dough hook did not have the motor strength to knead such a heavy bread dough. I wouldn't recommend using a regular Kitchenaid, but possibly a mixer that is considered "professional grade" or something like it might hold up.

I will say that you will not achieve the same texture and softness I get if you try and use simply store-bought whole wheat flour. Store-bought whole wheat flour is a larger grind and has the germ and the bran removed. If you are serious about wanting to make excellent 100% whole wheat flour bread for your family and save money in the long run then buy a Bosch Nutrimill and mill your own wheat. You will be glad that you did. My bread costs a little over a dollar a loaf to make and that is because I use as much organic ingredients as I can. I have been making my own bread for about four years now and the money that we have saved on pizza and bread has more than paid for the mixer and Nutrimill many times over.

So here is the way I make bread.
Whole Wheat Bread (Six Loaves)
5 1/2 cups of very warm water (between 110 and 115 degrees)
2 Tbsp Salt
2/3 cup Olive Oil (I use Braggs Organic Extra Virgin Olive Oil)
2/3 cup honey (buy local in bulk if you can, I do)
7 cups freshly ground red winter wheat flour
3 Tbsp Saf Instant Yeast
7-8 more cups of flour (for second half of mixing)
Add 5 1/2 cups of warm water into bowl of your mixer. Add in salt, olive oil, and honey. If you measure oil first in your measuring cup and then measure out the honey in the same cup, then the honey will not stick to the sides of the measuring cup. Pour in 7 cups of flour and on top of the flour add your yeast. It will look like this-

Pulse the machine to combine the ingredients. It should look something like this afterwards.

Cover and let rise for 20 minutes. (Set your timer and walk away.)

After 20 minutes your mixture should look something like this-

Replace the cover and stir down by just pulsing your machine one or two times. Then turn the machine on low (On my Bosch it is setting 1) and gradually add in more flour. Add one cup of flour at a time and allow it to fully incorporate before adding the next cup. You should add flour one cup at a time until the dough cleans the sides of the bowl, somewhere about 6-8 cups. How much flour you add depends on the temperature and humidity of the day. Don't think of this part so much as measuring but simply adding enough flour to get to the consistency you need the dough to be. If you add too little your dough will be very sticky. If you add too much your dough will be very dense and your bread will not rise well and the finished product will be dense and dry.
The finished dough should look something like this-
(I added 7 1/4 cups of flour this time)

Put the lid on the mixer and turn on to setting 1 (low). Let knead for 4 minutes.

Should look like this when the four minutes is up. (if you over knead it, the dough will start to kind of look more like the picture before this.)
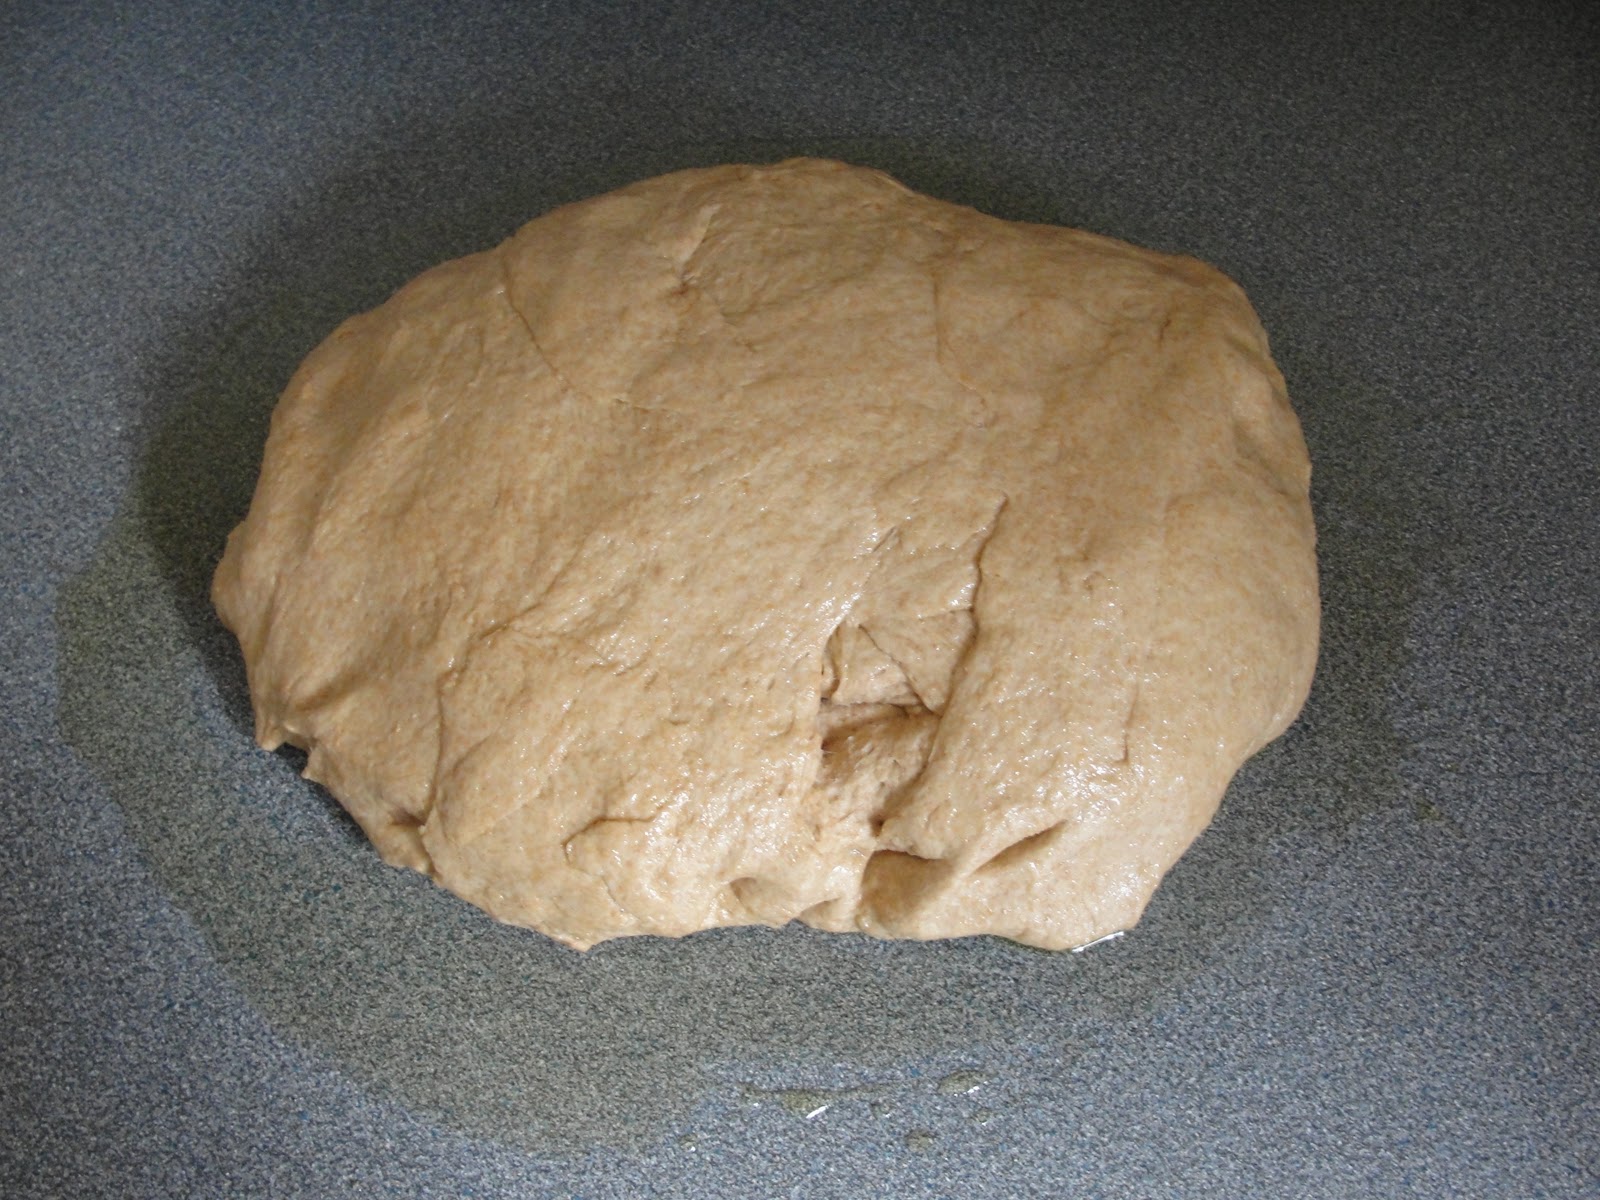
Pour out onto to OILED surface. I pour about 2 Tbsp of Olive Oil onto my counter top and spread it around with my hand into a large circle. I then use my oiled hands to pull the dough out of the mixer bowl and off of the dough hook. I then pull the corners of the dough lump to form a large ball. It will look like this-
Cut the dough into six equal portions.

Turn the sections oily side up and
in your hands push the corners toward the center
of the ball to form balls of equal size and weight.

Working each ball individually, flip the dough ball over and press out.


Then roll the pizza shaped dough into a cylinder starting from the back.


Place it seam side down and tuck in the right and left edges to form rounded sides.

Place into greased bread pan. (I use Pam Olive Oil Spray)


Cover and let rise until double in size (about 30 minutes depending on the temperature of the day).
I use tea towels.

Here is a side view before they rose

And AFTER they rose.

Place in 350 degree preheated oven and bake for 25 minutes. Bake until golden brown and sounds hollow when thumped. (If you have problems with your bread cooking too fast on the outside but are still gooey in the middle then start with a cold oven. Place the bread in the oven and turn it to 350 and bake for about 20 minutes or until brown and sounds hollow when thumped.)
I can only fit four loaves, so I cover the other two with plastic wrap and place them in the refrigerator until the first batch is done.
Turn out of pans onto cooling racks and let cool until just warm to the touch. If you like soft crust then bag them while slightly warm or for firm crust let cool completely and then bag.


We save one to eat right away and then freeze the rest for later use. I take out a loaf when we are ready for it and let it sit at room temperature to defrost. Will be almost just as fresh as when it came out of the oven!


ENJOY!!!
Notes- These are ingredients I use and places I buy from:
I buy all of these items from here.
Wheat Montana Hard Red Winter Wheat 50 Lbs bags known at Bronze Chief from here. You need to buy Hard Winter Wheat, Soft Wheat will not make good bread. I store my grain in 5 gallon buckets with Gamma Seal Lids.

Braggs Organic Olive Oil

Red Saf Instant yeast (the red star and other brands I have tried just don't have as nice a flavor in the bread and don't seem to be as reliable in their leavening power)


